Sub items should be registered with an identification, for keys this could be the identification number that is engraved on the key, and a description. It is also possible to register a door code that is used with the sub-item, which can be displayed during withdrawal in the EAGLE assembly.
1. Go to Administrate
in the right corner menu and choose Sub items .
2. To add a new Sub item click on the +.
3. Add an identification, for example the key identification number.
4. Add a description of what the object is or where it goes to.
5. For further identification give the sub item an category, like for example “master key” or “car key”. Categories can be created and managed in settings .
6. Registering the brand makes it possible to keep control of different suppliers of keys, and it makes it easier to identify them. The type code is connected to the brand, making it even easier to identify. Choices for brand and type code can be created in settings.
7. If there is a door code connected to the key it can be registered and you can choose to show it in the EAGLE assembly.
1. Register an owner of the sub item, either an individual
and/or company
. This enables filtering in Check-up. It also makes it possible to create report, which can be handed over to the owners.
2. Connect an object to the sub item to ensure traceability.
1. Register which address the key goes to. By clicking + you can create a new address. Find addresses under administration.
1. If there are any units connected to the sub item, make the connection. This is normally used by infrastructure and real estate companies. A unit could for example be an electricity or gas meter. Find units in administrate.
1. Choose the organizational belonging.
In the more tab you can:
1. Click on in the right corner of the menu.
2. Choose Download import template . A pop-up will appear for selecting fields to import.
3. Only select the fields you wish to import (since no fields may be left empty when importing). For more alternatives, create custom fields in settings.
4. Click save and the Excel file will be downloaded.
5. Open the Excel file and insert the information under each column and save. NB! Do not alter the file – it may distrupt the needed fields for import.
6. Now click on Import in AXSOR.
7. Drag and drop the Excel file in the pop-up box.
8. The import will start. Under the top right icon Account , it is possible to find imports/export and the status of them.
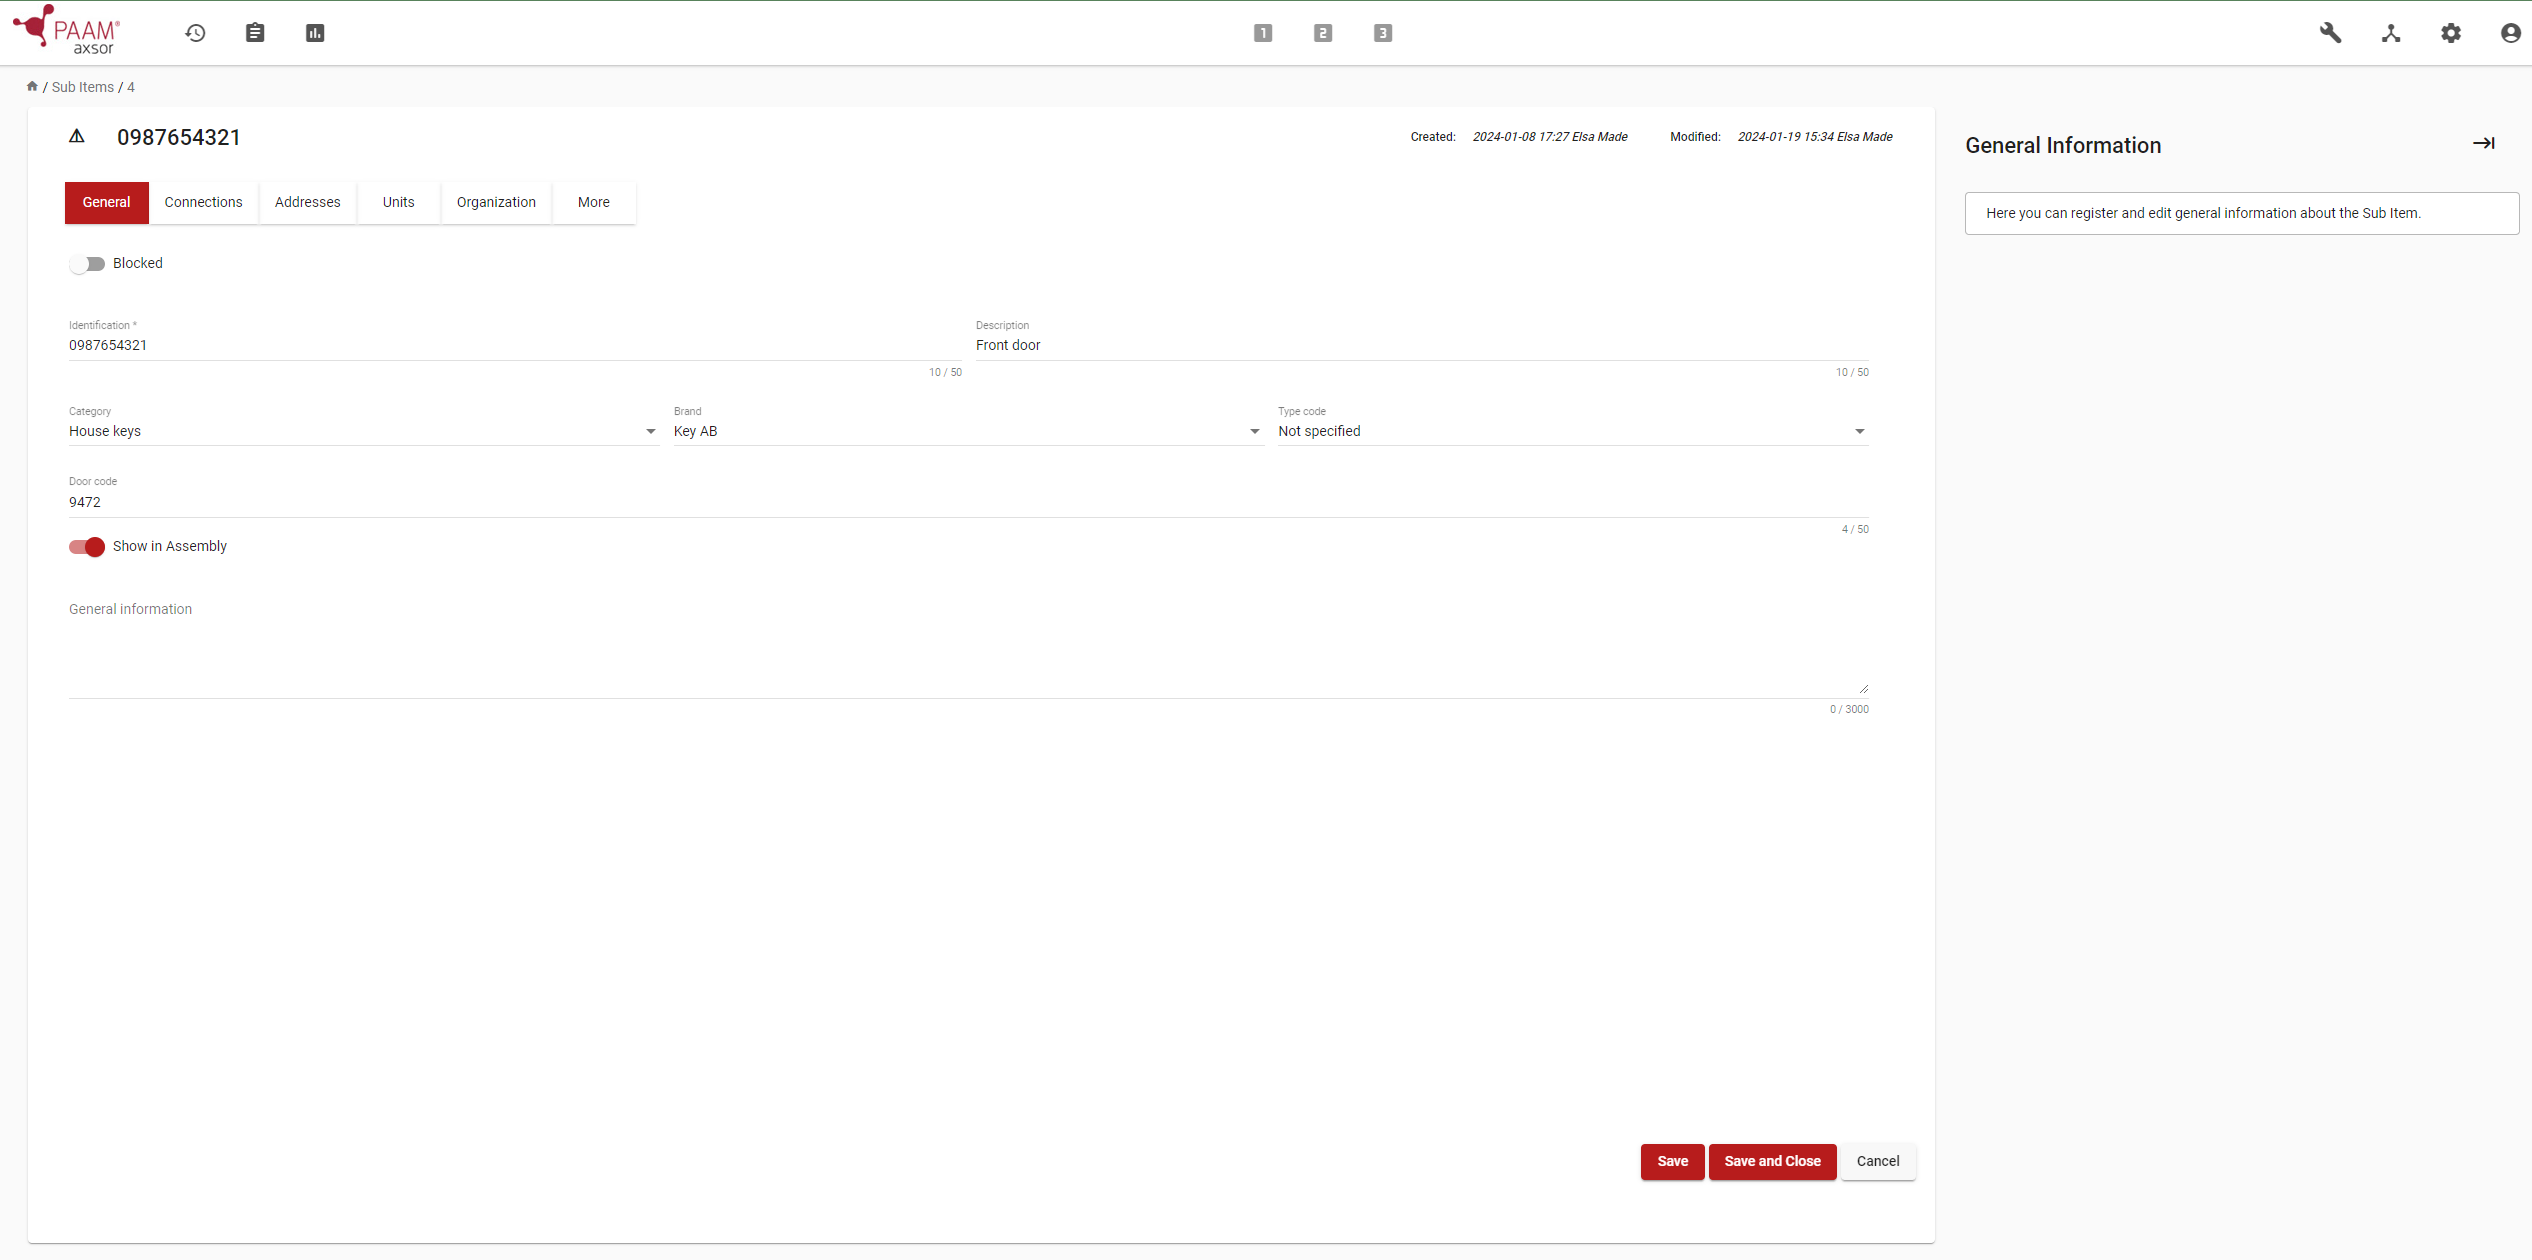
When the import is completed its possible to make connections.
The organization has multiple keys on each key bunch and has previously had trouble with people taking individual keys and exchanging them without anyone noticing. Since they started using AXSOR to map sub items they have full control over all keys and if someone takes them.
Create and edit sub items categories that can be selected in the general tab (for example car keys and master keys).
Register and edit which brands your sub items are, which will be selectable when creating/editing Sub items.
Create the possibility to add company-specific response fields that aren’t default.
The type codes are connect to the brand. Register and edit type codes that will be selectable when creating/editing Sub items.